Pages

Sunday, February 16, 2014

Easy peezy leopard scarf...

The best part of sewing is how instant the gratification can be. This is not always the case in larger projects, but you would be surprised how quickly you can make things, especially if they are for yourself and do not have to be ultra perfect. 

I was at Joann Fabrics a couple of weeks ago, and came across this medium weight polyester leopard print. I have leopard problems, so I knew I needed to make something out of it. Then THIS pin popped into my head, and it was a done deal...

So I bought half a yard of the fabric and made an infinity scarf. Basically, I just trimmed up the edges then sewed down each long side using my rolled hem foot. It was my first time to use it, and it was a little wonky in some spots. But because this was for me, no big deal because literally no one would be able to notice. After rolling the two long sides, I roll hemmed the short sides, and then just seamed them together with a straight stitch. So easy! If you don't have a rolled hem foot or are too scared to use it, you can just do a 1/4 fold and another 1/4 fold and straight stitch to hold it in place. 

Leopard on leopard...

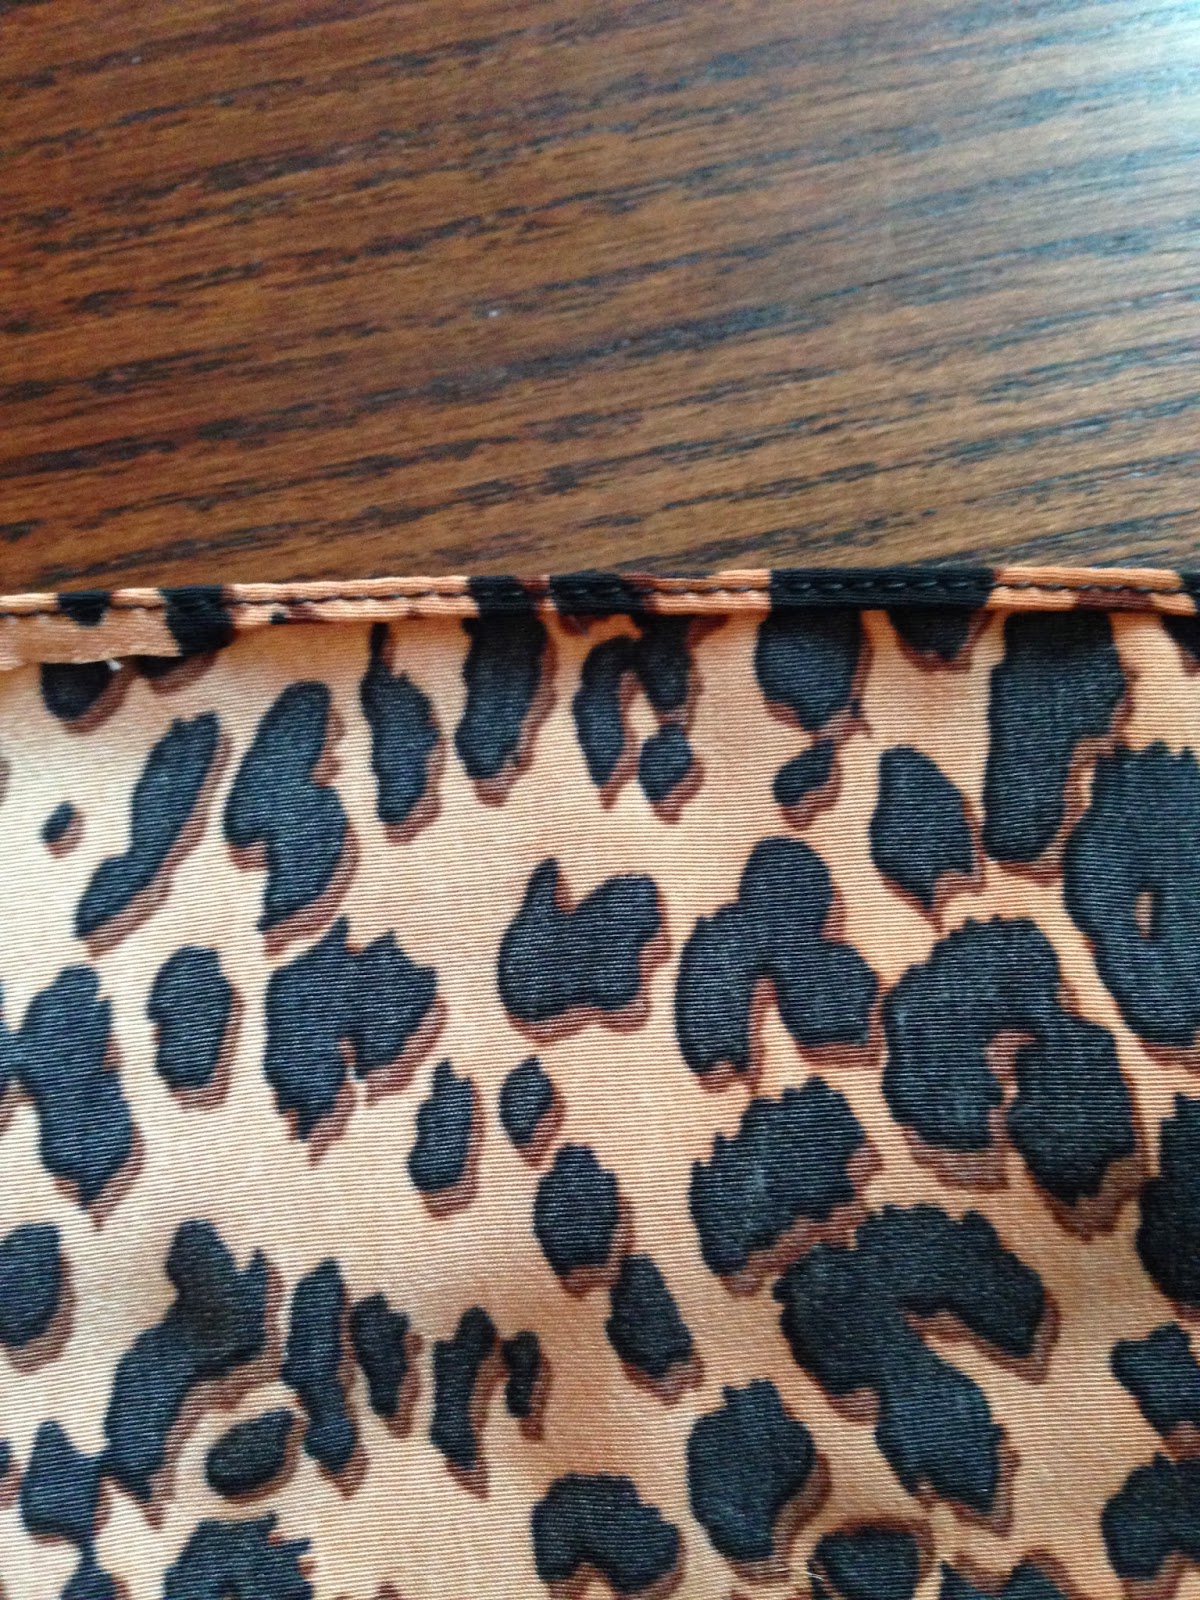
Here's a closeup of the rolled hem...

You can see on the left side of the hem, that it didn't "roll" all the way. Seriously, you can't tell at all when you're wearing it, so don't stress out if it's not perfect :). 

Love,
Lauren


My first quilt...

I started sewing in June, so making my first quilt by January feels like a pretty solid accomplishment. This is not a tutorial, but I just wanted to share, because this quilt is special to me for more than one reason.

My best friend since first grade is having a baby boy any day now, and there was no more compelling reason to make a quilt than for her baby boy. I actually didn't know at the time that the nursery was a nautical theme, I was just going off a hunch that she and her husband would enjoy the overall theme of the fabrics I put together.

My first born quilt...

To get an idea of the scale...

The back shows the actual quilting I did which was just a 3/8 stitch away from either side of the chevron seams. 

Like I said, at the moment, this is not a tutorial, but if you have any questions about my process, I would be more than happy to answer them! I will go ahead and say that all of the fabrics are Michael Miller, and most of them are Sarah Jane Studios for Michael Miller. I love Sarah Jane fabrics SO much! Her tagline is "illustrating childhood" and each of her prints is delicate, slightly vintage, but totally interesting in the most subtle way possible. I also bound the quilt in a thin stripe fabric, and I love how it turned out looking almost like a blanket stitch. Thanks for taking a peek!

Love,
Lauren

DIY Outdoor seating for six for around $100...

Hi there! Welcome to my first official post on my new blog, The Princie. In this post, I want to share one of the best money saving DIYs I have completed thus far.

We built a new patio on the back of our home last summer, and when I started to look around for patio furniture, I found the prices of dining sets to be daunting. So one day, my family and I were having an elegant dinner at Dickey's BBQ, when I saw something that SORT OF looked like this...

A huge light bulb went off in my head, because I remembered that Lowe's sells pre-assembled picnic tables for like $100. All I would need to do is get a table and "upholster" the top with some sort of waterproof vinyl or oil cloth.

So here's what I did:

1. Bought the pre-assembled picnic table at Lowe's $98
2. Bought two yards of a heavy vinyl on clearance at Joann $9. Mine kind of feels like a heavy faux leather, and has a stingray-like texture to it. Hobby Lobby has the best faux leathers for the price, in my opinion.
3. Lay your fabric on a flat surface, face down, and center your picnic table, upside down, on top of the fabric.
4. Pull the fabric up and on to the underside of the table, and staple with a staple gun. If you bought a heavy fabric, this is super easy because you won't have to worry about creases or wrinkle as it pretty much stays put.
5. Just keep pulling the fabric tight and stapling, leaving the corners for last. I just winged the corners, and did not use any sort of official upholstery technique. I mean, it's a picnic table, not a tufted sofa.
6. Trim off any excess fabric, and you're done!

Oh, I also sanded down the seats, just so they were a little smoother, but that's optional and you can do it at any time, before or after attaching fabric.

Here is a close up of the vinyl "leather" I used...

And here is the "after" of our patio...

There are so many cool ways to customize this project. You could paint or stain the table, or even stencil an interesting design. I was thinking recently you could also get a custom cut of laminate counter top (the cool kind that looks like granite) and attach it to the top. If your table is very protected from weather, some long seat cushions would be adorable. The possibilities are endless!

Thanks for stopping by, and please share if you take on this project for your home!

Love,
Lauren